
Introduction
Unlocking the full potential of your Chromebook requires utilizing Crostini, a powerful tool that runs Linux applications seamlessly. This feature can significantly enhance your Chromebook’s functionality. USB access through Crostini is crucial, particularly if you want to connect external drives, cameras, or other peripherals. This guide provides step-by-step instructions to help you enable USB access, making your Chromebook more versatile and productive.
What is Crostini and Why Use It?
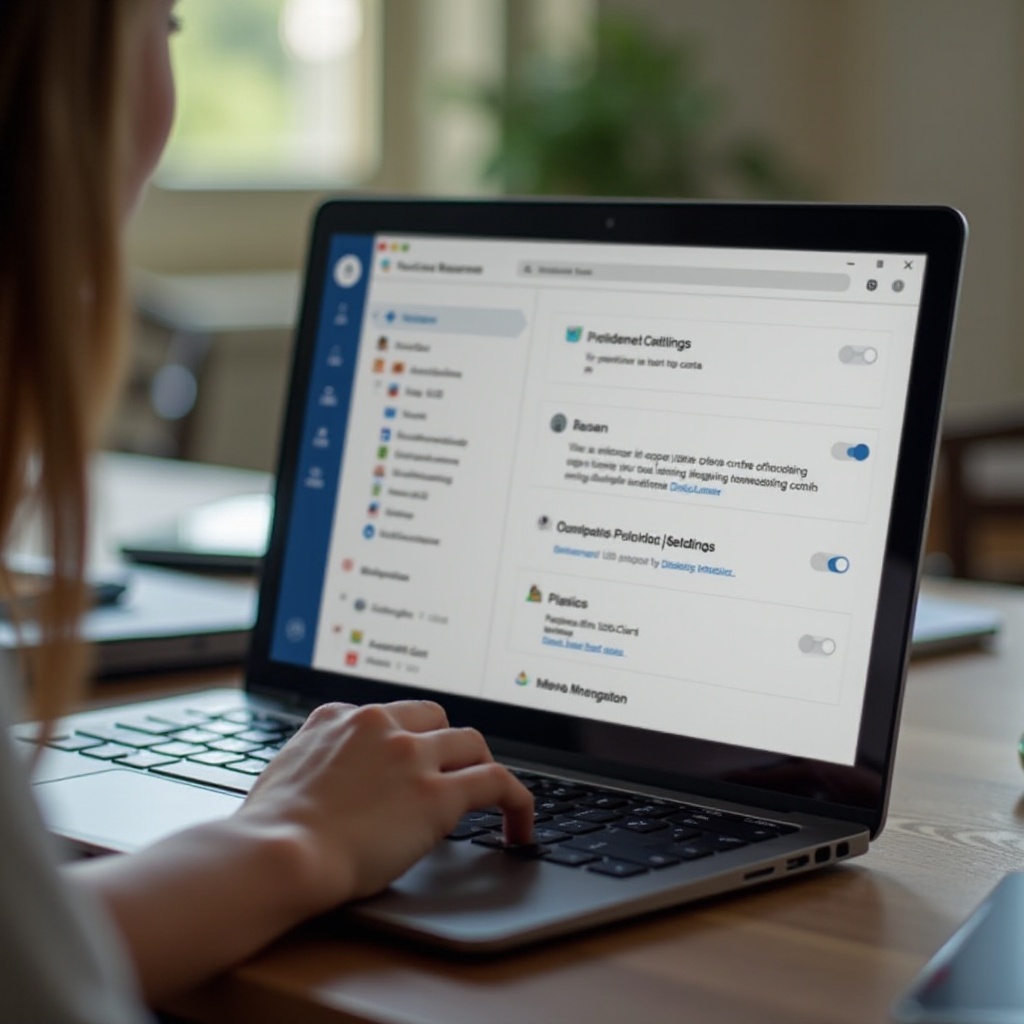
Crostini brings Linux applications directly to Chromebooks through Google’s initiative to integrate Linux (Beta) within Chrome OS. This platform is ideal for developers, IT professionals, and tech enthusiasts due to its capability to run powerful Linux applications natively, without streaming or emulation. The ability to run Linux software opens extensive possibilities, including coding, video editing, and software development. However, to maximize these possibilities, Crostini requires USB connectivity, enhancing your Chromebook’s practical use by allowing efficient data transfer and peripheral connection.
Preparing Your Chromebook for Crostini
Ensuring that your Chromebook is ready for Crostini is the first step towards USB configuration. Here’s how to prepare your system:
- Updating Your Chromebook: Keep your Chromebook updated by navigating to Settings > About Chrome OS > Check for updates. Updates ensure compatibility and access to new features.
- Checking Hardware Compatibility: Verify that your Chromebook model supports Linux (Beta) by consulting the official Chromebook support page. Also, ensure your USB devices are compatible with your OS version.
With your Chromebook and peripherals prepared, you’re now ready to enable Linux (Beta), setting the stage for USB access.
Enabling Linux (Beta) on Your Chromebook
Activating Crostini’s Linux (Beta) is simplified by Google’s streamlined process:
1. Open the Settings menu on your Chromebook.
2. Scroll down and select Advanced.
3. Click on Developers.
4. Enable Linux development environment (Beta). Follow the on-screen instructions for installation.
Once Linux (Beta) is installed, a wide range of applications and tools becomes available on your Chromebook. With Linux running, you can now set up USB access for Crostini.
Configuring USB Access in Crostini
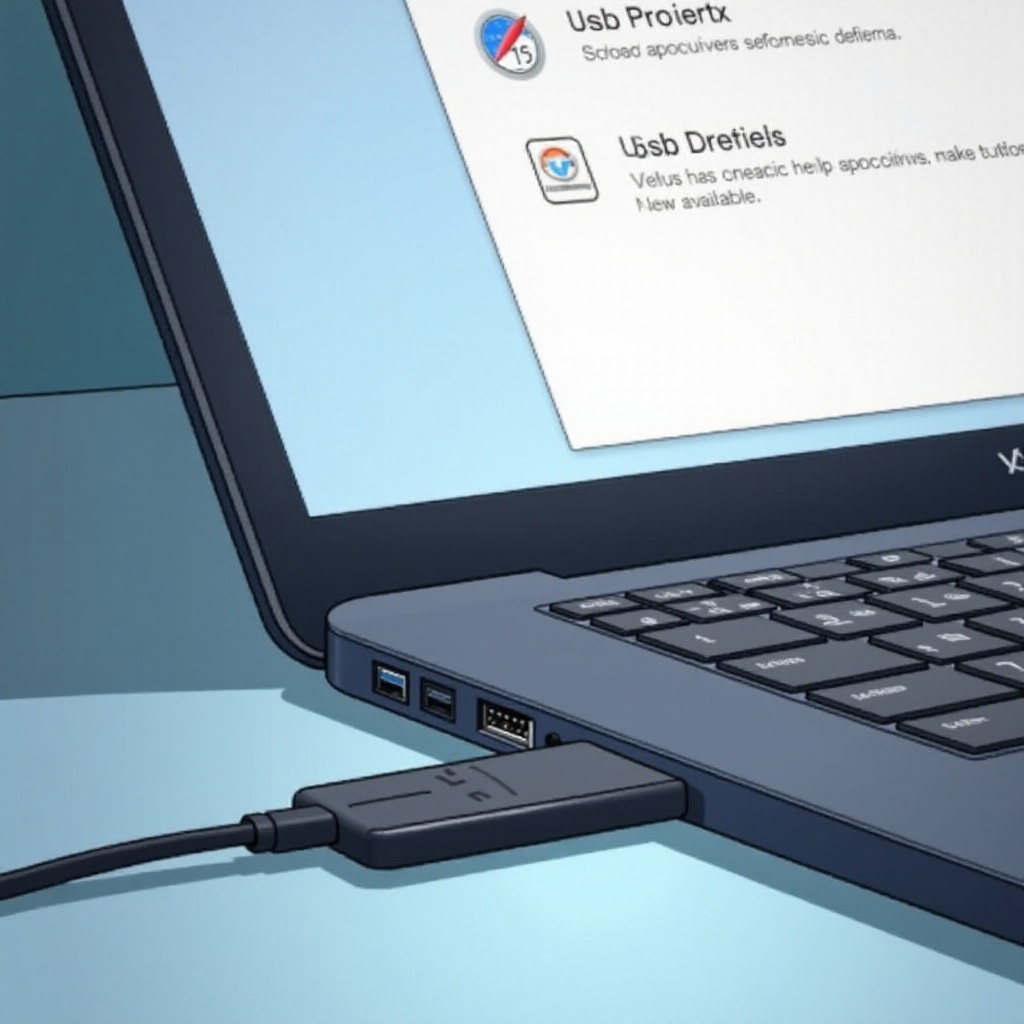
Here’s how to enable USB access in your Crostini environment using simple terminal commands:
1. Accessing the Terminal: Open the Terminal via the Launcher. This application allows you to input commands.
2. Running the Required Commands:
– List available USB devices using: ‘lsusb’ to identify the device.
– Install USB utilities with: ‘sudo apt-get install usbutils’. This lets you interact with USB devices.
– Start the virtual stack supporting Crostini using ‘sudo vmc start termina’ and configure with ‘arc-setup’.
3. Verifying USB Device Access: Confirm device recognition in the system via ‘lsusb’. Successful recognition completes the setup.
Following these instructions, your Crostini environment should now have USB access, enhancing your capability to perform tasks efficiently.
Practical Applications of USB Device Access in Crostini
Enjoy enhanced productivity through these applications:
– Common Use Cases: Attach external SSDs for additional storage; connect cameras or USB mics for creative projects.
– Enhancing Your Workflow: Import/export data effortlessly and back up files. These capacities are invaluable for developers who rely on versatile hardware.
Troubleshooting Common Issues with USB Access
Sometimes, you may encounter connectivity issues in Crostini. Here are solutions:
– Solving Connection Problems: Check device insertion correctness. Reconnect the device or use a different USB port if necessary.
– Additional Tips for Stability: Regularly update Linux packages using ‘sudo apt-get update’ and ‘sudo apt-get upgrade’. This practice maintains a stable environment.
By tackling these potential issues, you ensure a smooth experience while managing USB access in Crostini.
Conclusion
By enabling Crostini USB access, you’ve expanded your Chromebook’s capabilities dramatically. From augmenting data management options to facilitating versatile hardware connections, the advantages are apparent. Adhering to this guide, you’ve significantly improved your Chromebook’s functionality, ready to support advanced tasks effectively.
Frequently Asked Questions
Why can’t Crostini detect my USB device?
Ensure your USB device is properly connected and compatible. Also, reinstall the ‘usbutils’ package if needed.
Can I use all types of USB devices with Crostini?
Most USB devices are supported, but certain specialized hardware might need additional drivers or may not be supported.
How can I improve USB device compatibility?
Updating your Linux (Beta) environment and using widely supported USB devices can enhance compatibility.