Introduction
Getting to the Files app on your Chromebook can simplify your digital routine immensely. The Files app is the central hub for managing documents, downloads, and storage. Whether you’re a student, professional, or casual user, knowing how to access and efficiently use the Files app can boost your productivity.
Understanding the Files App on Chromebook
The Files app on a Chromebook is a versatile and powerful tool designed to manage all your files. It combines functionality with ease of use, allowing users to navigate through their local storage, cloud services like Google Drive, and even external devices. By understanding the features of the Files app, you can better organize and manage your digital life. This powerful file manager helps you streamline operations and maintain an organized workspace no matter where you are.
Different Methods to Access the Files App
Accessing the Files app on a Chromebook can be achieved through multiple methods, each suited for different user preferences and scenarios.
Using the Launcher
- Click on the Launcher Icon located at the bottom left corner of your screen.
- In the search bar, type ‘Files.
- Click on the Files app icon that appears in the search results.
Using Keyboard Shortcuts
- Press
Alt+Shift+Mon your keyboard. - The Files app will open immediately, taking you to its interface.
Using the Shelf
- Locate the Files app icon on your Chromebook’s Shelf at the bottom of the screen.
- Click on the Files app icon to open it.
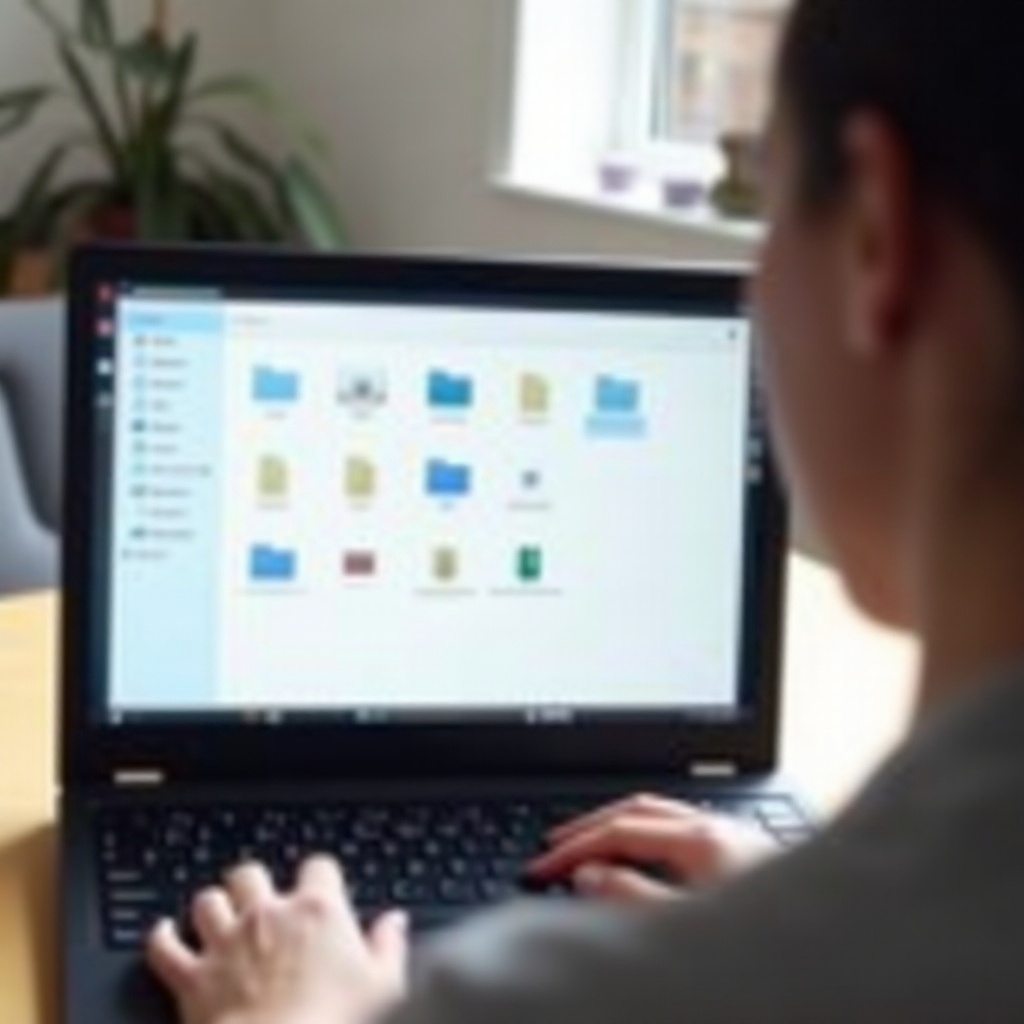
Navigating the Files App Interface
Once inside the Files app, understanding its layout is crucial for efficient file management. The numerous features available can seem daunting at first, but with some practice, you will find navigating them more intuitive.
File Sections and Directories
The left sidebar of the Files app displays various sections like ‘My files,’ ‘Google Drive,’ ‘Downloads,’ and any connected external devices. Each section contains directories and subdirectories, helping you easily locate your files.
Menu Options and Settings
At the top-right corner of the Files app, you’ll find options like ‘Settings,’ ‘New Folder,’ and ‘More actions.’ These menu options allow you to customize your file management experience by creating new directories, adjusting settings, or performing specific actions.
Connecting External Devices
You can quickly connect USB drives, external hard disks, or SD cards. Once connected, these devices will appear in the left sidebar of the Files app, allowing you to access their contents directly.
By knowing how to navigate through these elements, you can make your file management tasks smoother and more organized. This seamless integration of local and external files turns the Chromebook into a versatile tool for handling all your data needs.
Managing Your Files Efficiently
Efficient file management on a Chromebook involves knowing how to organize, move, and delete files with ease. This ensures that your file system remains uncluttered and optimized for productivity.
Creating and Organizing Folders
- Click on the ‘New Folder’ icon at the top-right of the Files app interface.
- Name your new folder by typing the desired name.
- Drag and drop relevant files into the appropriate folders.
Moving, Copying, and Deleting Files
- Select the file(s) you want to move or copy.
- Choose ‘Move’ or ‘Copy’ from the right-click context menu.
- Navigate to the destination folder and paste the file.
- To delete files, select the file and press the
Deletekey, or drag it to the ‘Trash.
Bulk Actions and File Selection
- Hold the
Shiftkey to select multiple files in a row, orCtrlto select non-adjacent files. - Perform bulk actions like ‘Move,’ ‘Copy,’ or ‘Delete’ using the options from the right-click menu.
Being proficient in these actions ensures that your file system remains uncluttered and organized, thereby enhancing your productivity.
Integrating the Files App with External Services
The Files app is not just limited to local file management. It also supports integration with various cloud services and network shares. This integration provides a unified environment where you can access all your files regardless of their location.
Google Drive Integration
Google Drive is natively integrated into the Files app, allowing seamless access to your cloud-stored files. Simply click on the ‘Google Drive’ section in the left sidebar to access your synced Drive contents.
Using Other Cloud Services
You can integrate other cloud services like Dropbox or OneDrive through third-party extensions. Once installed, these services appear in the Files app, providing easy access and management of cloud-stored files.
Accessing Network File Shares
- Click on the ‘Settings’ icon in the Files app.
- Navigate to ‘Network File shares,’ and enter your credentials.
- Once set up, the network shares appear in the left sidebar for easy access.
Advanced Tips and Troubleshooting
Sometimes, advanced knowledge and troubleshooting can save a lot of time and frustration. These tips address the most common issues users encounter while using the Files app.
Syncing Issues and Solutions
If your files are not syncing correctly, try restarting your Chromebook or disconnecting and reconnecting your Google account. Ensure that you have a stable internet connection for seamless syncing.
File Type Compatibility
Chromebooks support a wide range of file types, but some specialized formats may require third-party applications. Always make sure you have the required apps installed to open particular file formats.
Conclusion
Accessing and using the Files app on a Chromebook can significantly streamline your digital life. Whether you’re dealing with local files, cloud services, or external storage, the Files app provides a powerful, all-in-one interface. By integrating efficient file management techniques and troubleshooting tips, you ensure a smoother, more productive Chromebook experience.
Frequently Asked Questions
How do I pin the Files app to the Shelf on my Chromebook?
Right-click on the Files app icon and select ‘Pin to Shelf.’
Can I access the Files app offline?
Yes, you can access files stored locally on your Chromebook and in the ‘Downloads’ folder offline.
How do I connect external storage to the Files app on my Chromebook?
Plug in the external storage device. It will appear in the left sidebar of the Files app for easy access.