Introduction
Seeing a ‘no signal’ message on your monitor can be incredibly frustrating. Thankfully, it’s often a problem that can be easily fixed without professional help. Whether the fault lies with cables, software settings, or hardware components, this guide will walk you through identifying and resolving the issue to get your monitor back in action. We will explore everything from physical connections to software configurations to ensure your setup is fully functional.
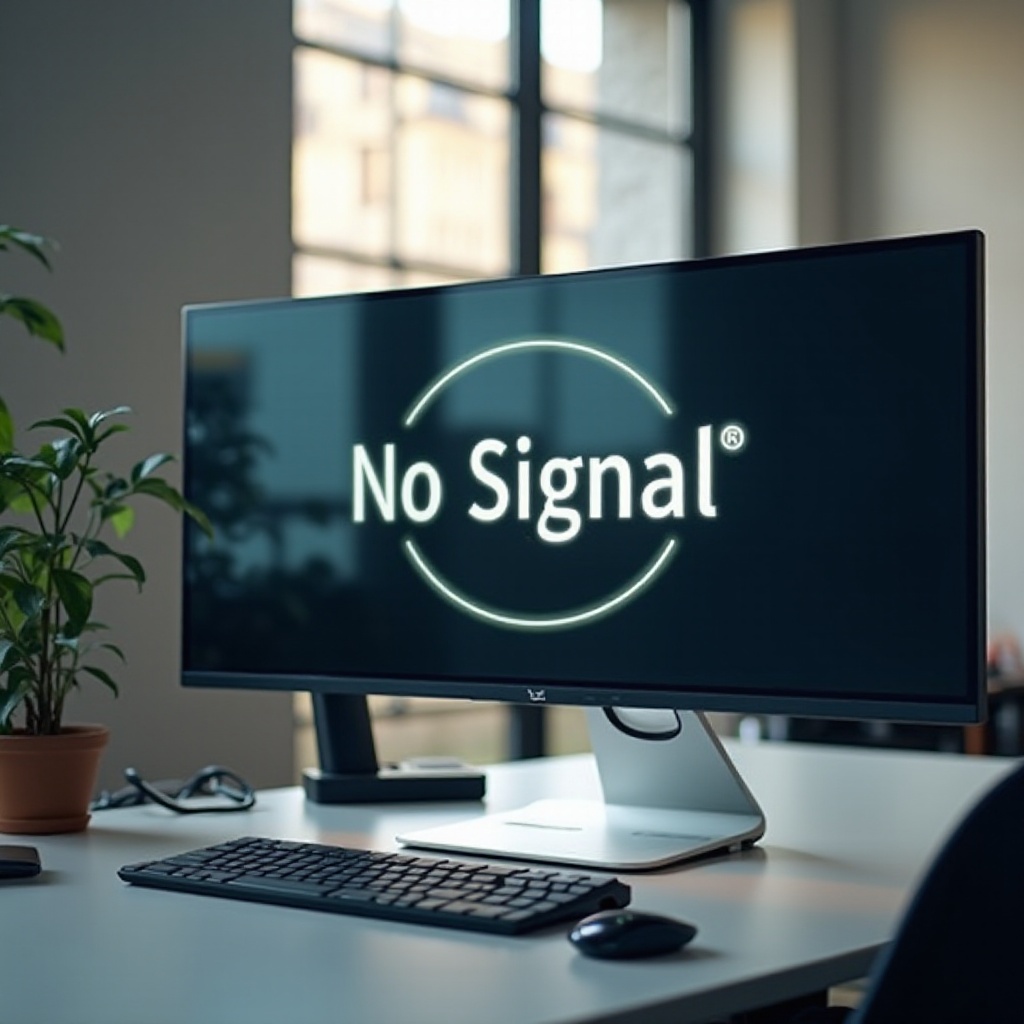
Understanding the ‘No Signal’ Issue
A ‘no signal’ message typically indicates that the monitor is unable to receive any output from the computer. This can occur for a variety of reasons including incorrect connections, improper settings, or hardware malfunctions. Knowing the potential triggers helps in systematically addressing the problem.
Common causes include:
– Unsecure or damaged cables
– Incorrect input source selection
– Outdated drivers
– Faulty hardware components
With a clear understanding of these causes, you can effectively troubleshoot through informed steps.
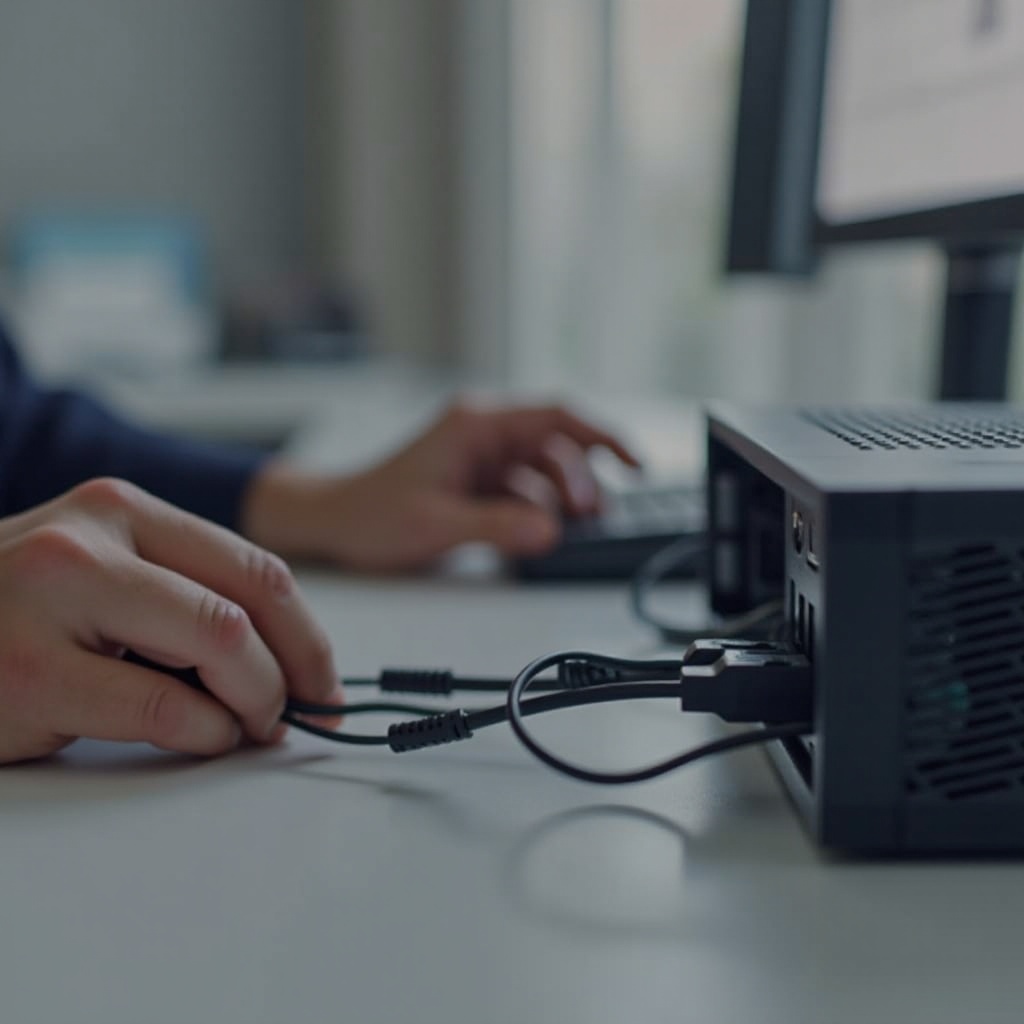
Checking Physical Connections
Start with the most straightforward checks—confirming that all cables are effectively connected.
- Check Cable Connections: Reattach all cables between the monitor and computer. Unplugging and reinserting them ensures secure connections.
- Select Correct Input Source: Use your monitor’s controls to set the correct input source, such as HDMI or VGA, corresponding to your cable type.
- Examine Cable and Port Condition: Inspect cables for visible damage. If possible, try another cable and check for debris or damage in ports.
These basic checks can often solve the issue, allowing you to proceed with confidence to examine your computer’s software settings.
Adjusting Display Settings
Once physical connections are verified, the next step involves tweaking display settings on your computer to ensure they are properly configured.
- Verify Display Settings: Go to your computer settings and confirm it’s set to output to the correct display. On Windows, navigate to Settings > System > Display.
- Set Resolution and Refresh Rate: Match the resolution and refresh rate with your monitor’s specifications. Use the default setting or adjust to 1920×1080 at 60Hz as these often work universally.
- Monitor Input Settings: Double-check and toggle through input settings on the monitor to verify correct alignment with cables.
Correct display settings often rectify signal errors, reducing the need for deeper investigations.
Updating and Reinstalling Drivers
Another frequent cause for display issues is outdated or corrupted graphics drivers, which are vital for monitor communication.
- Update Display Drivers: In Device Manager, find your display adapter. Right-click and select ‘Update driver’. Follow prompts to complete the process.
- Reinstall Drivers As Needed: If an update doesn’t fix the problem, uninstall and reinstall the drivers. Open Device Manager, right-click the driver, choose ‘Uninstall’, then restart your computer.
Ensuring your drivers are current and properly installed can effectively address issues stemming from driver-related conflicts.
Testing Hardware Components
If the preceding steps don’t resolve the issue, it’s time to examine hardware components further.
- Try Another Computer: Connect your monitor to a different computer to see if it works. This helps determine whether the issue stems from the computer or the monitor.
- Experiment with Different Cables: Swap cables to rule out any cable failures. Also, try different ports on your existing setup.
- Examine the Graphics Card: For desktops, re-seat the graphics card and ensure it is secure in the PCI slot. Testing with a different graphics card, if available, may also help.
By addressing hardware elements, you can identify and fix any faulty equipment contributing to the signal problem.
Advanced Troubleshooting Techniques
For stubborn issues, advanced troubleshooting might be necessary.
- Review BIOS Settings: Enter the BIOS at startup (usually via DEL or F2) and check that the primary graphics output aligns with your setup.
- Perform a Power Cycle: Power down, unplug peripherals, and press the power button for 10-15 seconds. Reconnect and power on.
- Resolve Software Conflicts: Check for any new software installations or updates causing conflicts and consider restoring the system to a previous point.
These deeper checks ensure comprehensive resolution of potential conflicts or misconfigurations.

Conclusion
Restoring your monitor’s display function can often be achieved through a mix of these steps. From checking physical connections to updating drivers and testing hardware, each action narrows down the potential problem areas. If this comprehensive guide does not resolve the issue, seeking professional help might be necessary. However, following these steps should significantly increase your chances of rectifying the problem independently.
Frequently Asked Questions
How do I know if my monitor needs to be replaced?
If, after testing with multiple cables and computers, the monitor still doesn’t work, replacement is likely necessary.
What should I do if my monitor is still under warranty?
Contact the manufacturer or retailer with proof of purchase for repair or replacement under warranty.
Can a faulty power supply cause a ‘No Signal’ message?
Yes, an inconsistent power supply can disrupt the signal, resulting in a ‘no signal’ message.