Introduction
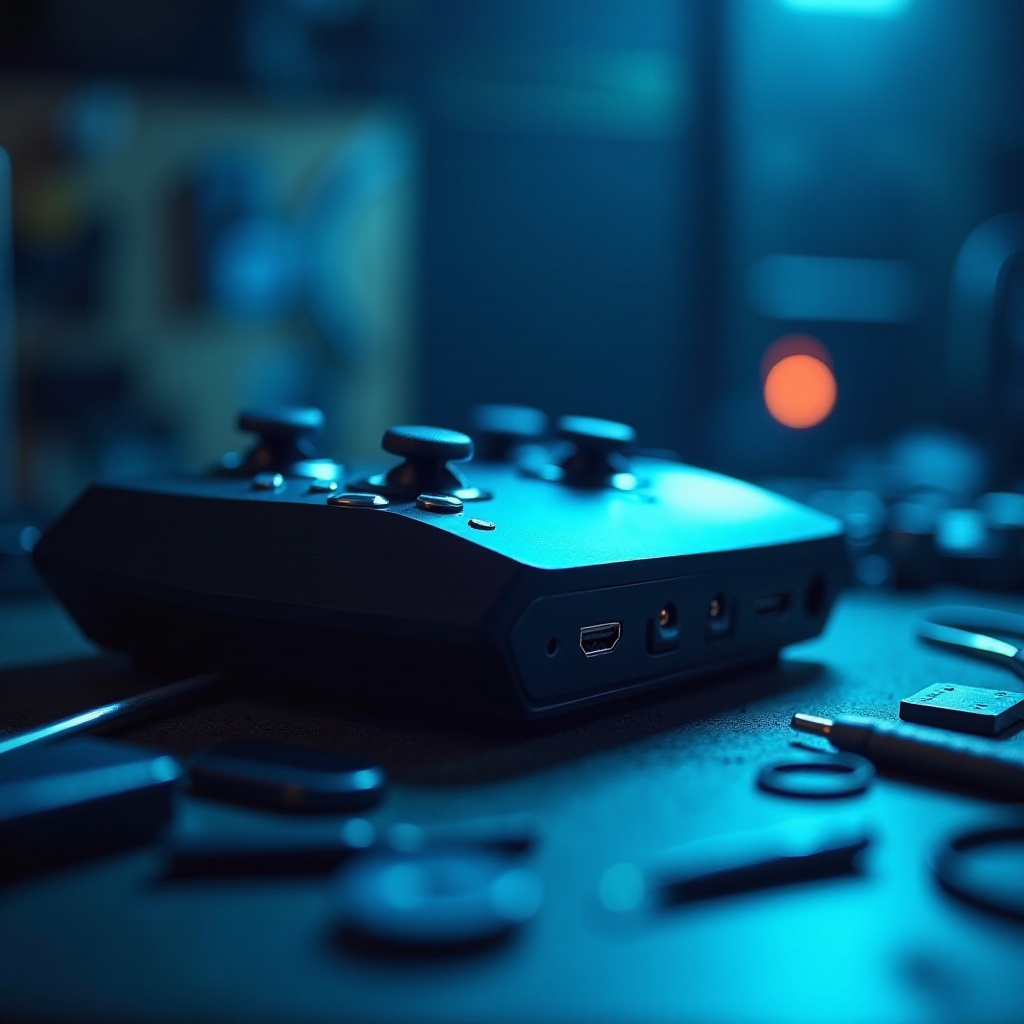
The PlayStation 4, a favorite among gamers, may occasionally encounter HDMI port issues that disrupt your gaming experience. Thankfully, replacing the port is not always necessary. Instead, with a few tools and steps, common HDMI port issues can be resolved at home. This guide provides a step-by-step approach to diagnosing and fixing your HDMI port, preventing unnecessary expenses and delays. Gather your tools, and let’s begin the repair adventure.
Understanding HDMI Port Issues
Successful repair starts with identifying what went wrong with the HDMI port. Recognizing the symptoms and understanding the underlying causes will set the stage for an effective fix.
Common Symptoms of a Faulty HDMI Port
- Lack of video or audio on your TV.
- Flickering or intermittent screen display.
- Physical damage to the port itself.
These common symptoms can help pinpoint the exact issue with the port. Once identified, the next step is to determine what’s causing these problems.
Typical Causes of HDMI Port Problems
- Loose Cable Connections: Often, a simple reconnection can fix the issue.
- Bent or Damaged Pins: These delicate components can cause major issues if misaligned.
- Broken Solder Joints: The connections between the port and the motherboard can fail.
With these common causes in mind, you’re ready to prepare for the repair process itself. Let’s look at how to set up for a successful fix.
Preparing for Repair
Before starting the repair, ensure you’re fully prepared by gathering the right tools and a clean workspace. This will streamline the repair process and mitigate potential complications.
Essential Tools and Materials
You’ll need:
– Precision Screwdriver Set
– Soldering Iron and Solder
– Multimeter
– Tweezers
– Isopropyl Alcohol and Cloth
These tools are crucial for disassembling your PS4 and performing the needed repairs without risk of further damage.
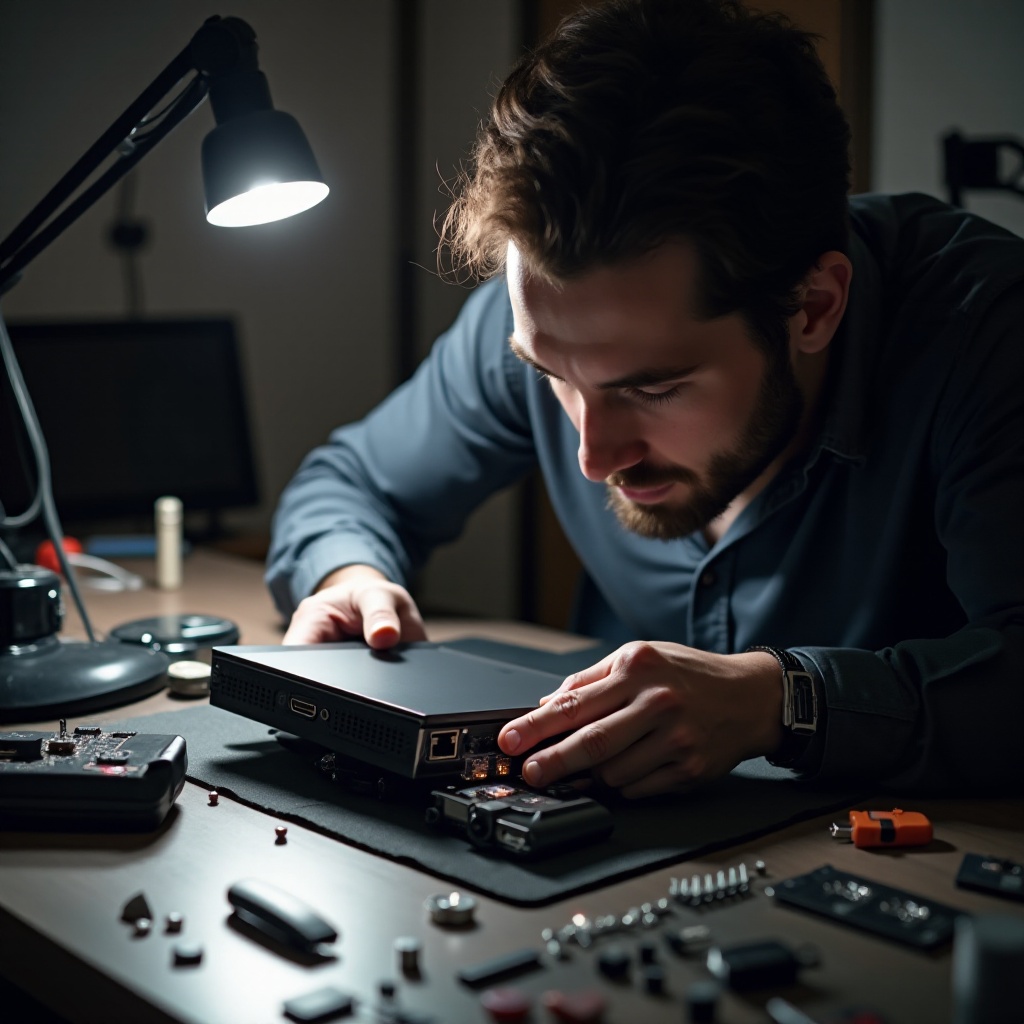
Setting Up Your Workspace
Choose a clean, well-lit area free of static electricity for your repair work. Layout all tools within easy reach to avoid scrambling for tools mid-repair and ensure your console is fully powered off before starting. With your workspace ready, you’re prepared to tackle the repair.
Step-by-Step Repair Guide
Now that you are prepared, let’s delve into the repair process. Each step will guide you through diagnosing and addressing HDMI port issues.
Initial Diagnosis
- Check for loose or damaged HDMI cables and replace if necessary.
- Use a flashlight to inspect the HDMI port for visible damage or obstructions.
- Employ a multimeter to test for electrical continuity and identify defects.
Cleaning the HDMI Port
- Moisten a cloth with isopropyl alcohol.
- Gently clean the HDMI port, removing dust or debris.
- Allow the port to dry completely before proceeding.
Realigning the Pins
- Use tweezers to carefully adjust any misaligned pins back into place. Avoid excessive force, which can cause further damage.
- Confirm alignment by connecting a functional HDMI cable to check for signal restoration.
Soldering Loose Connections
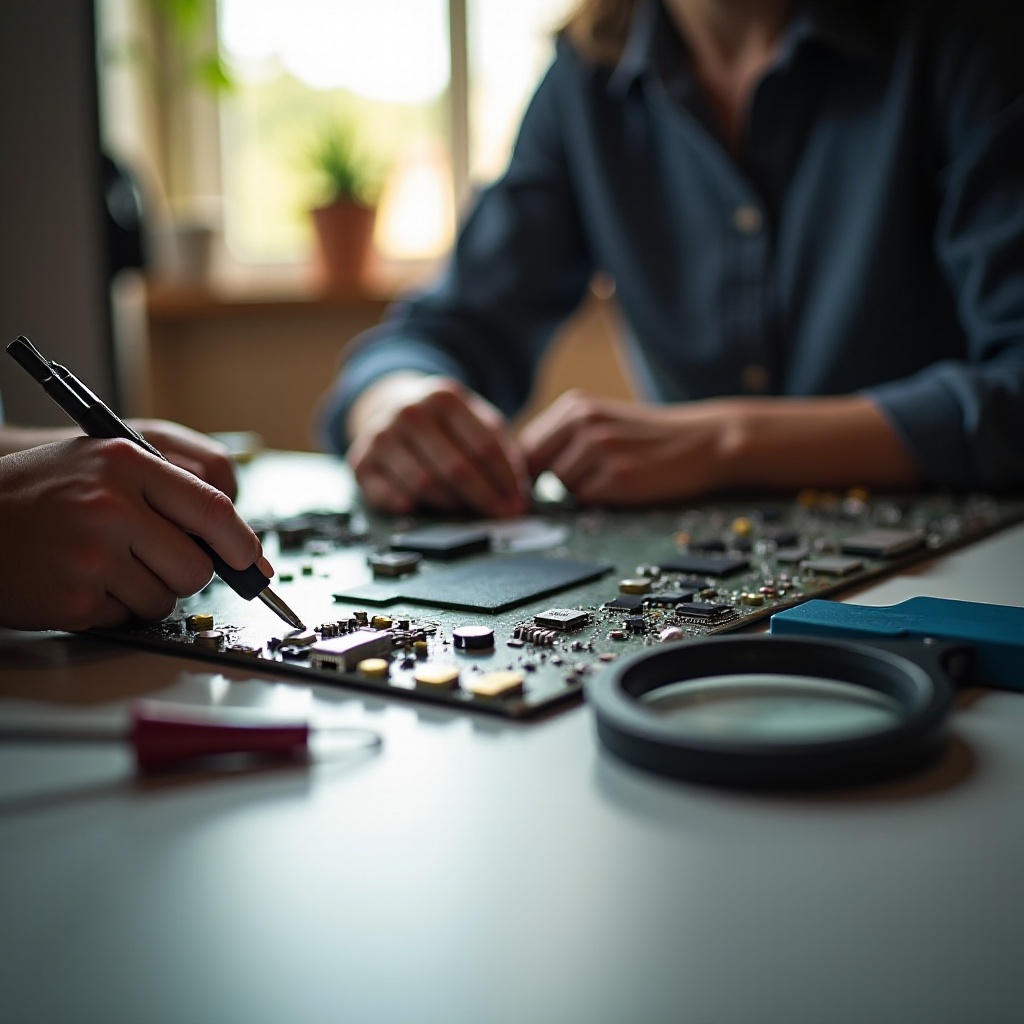
- Open the PS4 using the precision screwdriver set.
- Locate the HDMI port on the motherboard.
- Using a soldering iron, reinforce any loose solder joints to secure connections.
Testing the Port
- Reassemble the PS4 carefully after completing repairs.
- Reconnect all cables and power on the console.
- Check if the display issues have been resolved, ensuring a clear and stable image.
These steps should successfully restore your HDMI port’s functionality by addressing common problems directly.
Troubleshooting Common Mistakes
Despite your best efforts, mistakes can happen. Here are ways to identify and resolve common repair errors.
Misidentifying the Issue
Ensure that symptoms are diagnosed accurately before taking steps to repair. Double-check connections and test with different cables to verify the problem.
Using Incorrect Tools
Using inappropriate tools may cause additional damage to your PS4. Always use precision tools for electronic repairs to prevent unnecessary harm.
With these tips, you’ll avoid common pitfalls and successfully address HDMI issues. If repairs don’t fully fix the problem, other options are available.
Alternative Solutions
Should repair not solve the problem, or if technical handling feels daunting, here are alternative routes you can take.
Using HDMI Adapters as Temporary Fix
An HDMI adapter can provide a stopgap solution, bypassing the faulty port. While it won’t resolve the underlying issue, it can restore functionality temporarily.
Considering Professional Services
If your efforts don’t yield results, seek help from a professional technician. They possess the expertise to perform comprehensive diagnostics and repairs, ensuring your PS4 gets the best care.
Conclusion
Fixing your PS4 HDMI port without replacing it is achievable with patience, the right tools, and guidance. This guide equips you with the knowledge to resolve many common HDMI issues independently, saving you both time and money. Remember, if challenges arise or you’re uncomfortable performing repairs, professional help is a worthwhile option.
Frequently Asked Questions
Can I fix a PS4 HDMI port without soldering?
Yes, minor issues like debris removal and pin realignment can often be done without soldering, but severe problems might require it.
How do I know if I need professional help?
If symptoms persist after your repair attempts, or if you’re uncomfortable handling components, it’s best to consult a technician.
Are there any temporary fixes for HDMI port issues?
Using an HDMI adapter can temporarily solve display problems, allowing you time to seek further repairs.