Introduction
Elevating your home entertainment setup can significantly enhance your viewing experience, and one of the simplest upgrades is connecting your TV to an amplifier. This connection not only improves sound quality but also creates an immersive environment for movies, games, and music. In this guide, you’ll learn how to connect a TV to an amplifier, troubleshoot common issues, and optimize your system for exceptional audio performance.
Understanding Your Equipment
Before diving into the connection process, it’s crucial to understand the fundamentals of your equipment. By familiarizing yourself with different types of amplifiers and TV audio output options, you’ll set a strong foundation for a seamless setup.
Amplifiers generally fall into two categories: stereo and surround sound. A stereo amplifier caters to two audio channels and works well for music and basic TV audio. Meanwhile, a surround sound amplifier manages multiple channels, creating a truly cinematic experience.
Next, examine your TV’s audio outputs. Common options include HDMI ARC (Audio Return Channel), optical (TOSLINK) outputs, and RCA connections. Identifying these will determine the cables you need and the best connection method for your setup.
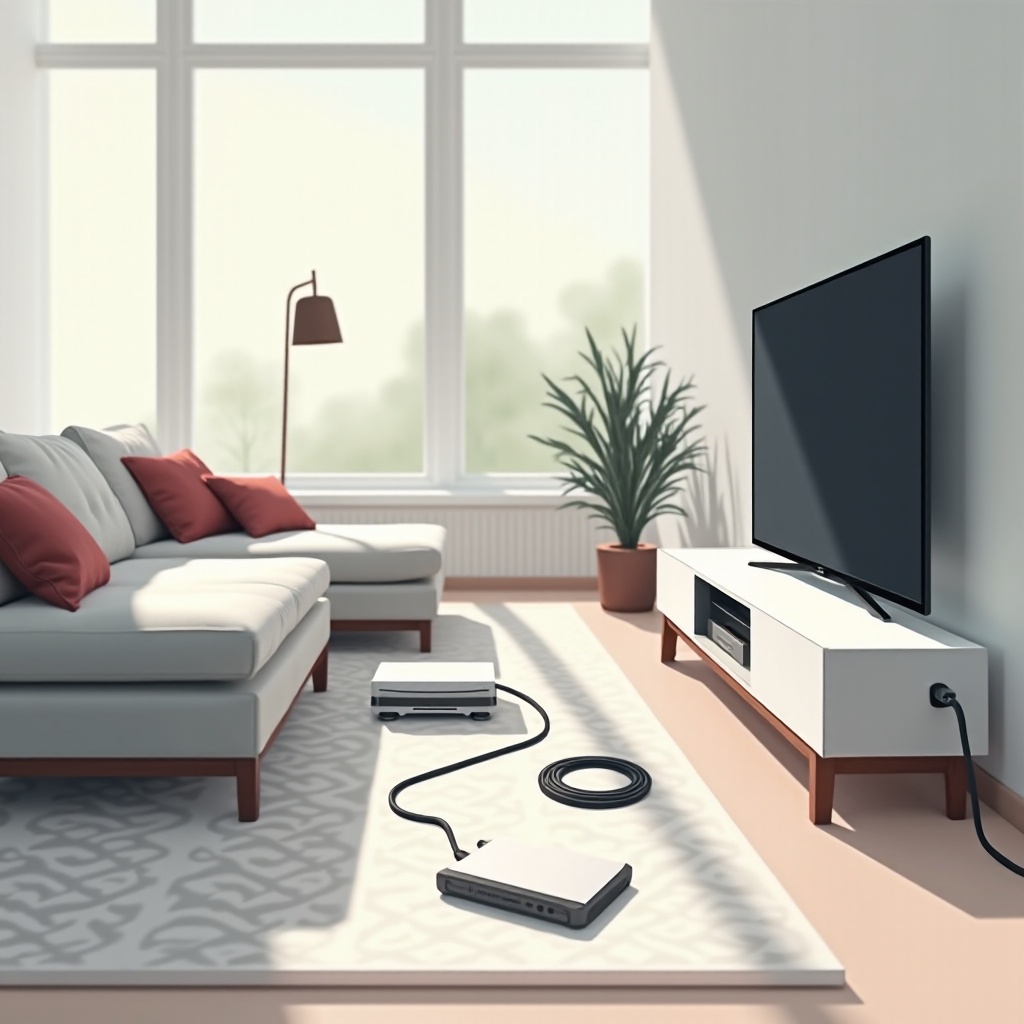
Preparing for the Connection
With a firm grasp of your equipment, the next step involves preparation. Doing this correctly from the outset saves time and prevents frustration.
- Cables and Adapters: Gather the necessary cables based on your chosen connection type. For HDMI ARC, ensure you have high-speed HDMI cables. Optical connections require an optical cable, while RCA outputs need matching RCA cables.
- Compatibility Check: Double-check the ports on both the TV and amplifier for compatibility. Most modern devices support HDMI or optical connections, but older models may require RCA cables or specific adapters.
- Power Off Devices: Always turn off and unplug both the TV and amplifier before making connections. This step is crucial for safety and to prevent potential damage to your equipment.
This preparation sets the stage for a successful connection, whether you’re using a stereo or surround sound amplifier.
Step-by-Step Guide to Connecting a TV to a Stereo Amplifier
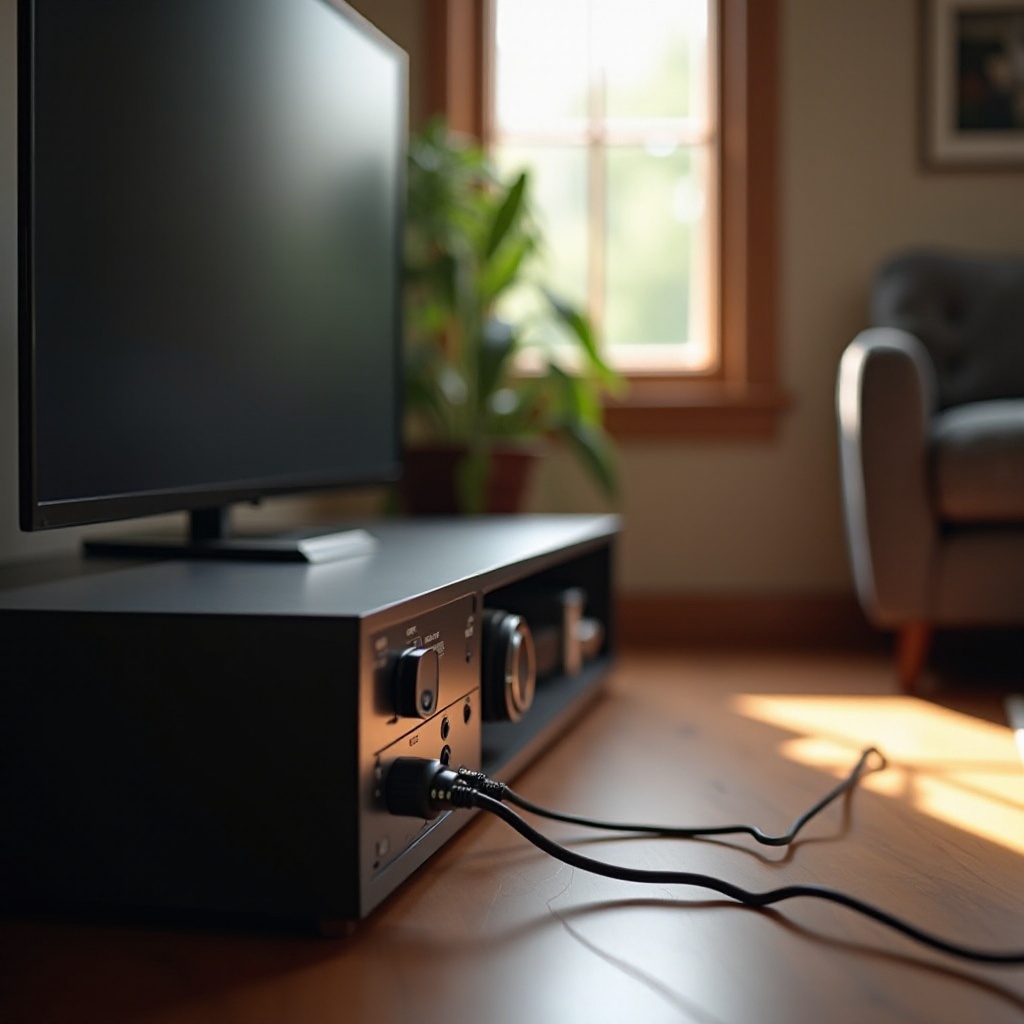
With your equipment ready, it’s time to connect the TV to a stereo amplifier, focusing on RCA connections for simplicity.
- Identify Audio Outputs on Your TV: Locate the audio output ports on your TV. Typically, these are RCA ports labeled either ‘Audio Out’ or ‘L/R Audio Out.
- Select the Right Audio Cable: Choose an RCA cable with matching colors (red and white) to correspond with the output and input ports.
- Make the Connection and Adjust Settings: Connect the RCA cables from the TV’s audio output to the amplifier’s audio input. Once connected, navigate your TV settings, usually under ‘Sound’ or ‘Audio,’ and select ‘External Speakers’ or a similar option to enable sound through the amplifier.
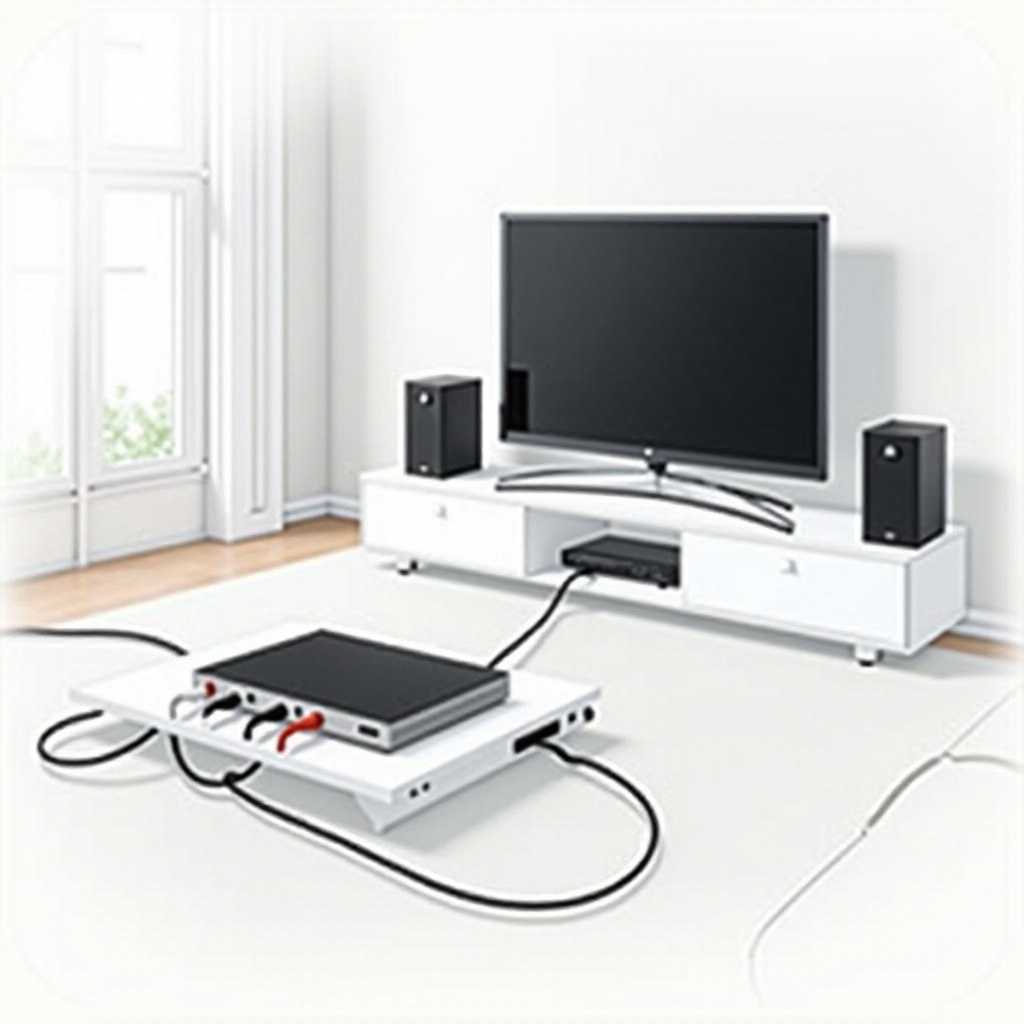
How to Connect a TV to a Surround Sound Amplifier
For those wanting to harness the full potential of a surround sound setup, digital connections via HDMI ARC or optical cables are optimal choices.
- HDMI ARC Connection Method:
- Locate the HDMI ARC port on both your TV and amplifier.
- Use a high-quality HDMI cable to connect the two devices.
- Access the TV’s audio settings menu and enable ‘HDMI ARC.’ Ensure your amplifier also has ARC settings enabled.
- Optical Cable Connection Method:
- Connect an optical cable from your TV’s audio output to the amplifier’s optical input.
- In the TV’s audio settings, select ‘Digital Output’ or ‘Optical’ as the preferred output source.
- Configure Audio Settings on Your TV: Regardless of the method, adjust your TV settings for optimal sound. This may involve turning off internal speakers and setting the audio format to match your amplifier’s capabilities.
Transitioning from setup to troubleshooting can ensure any emerging issues are addressed immediately.
Troubleshooting Common Issues
Even with careful setup, issues may arise. Knowing how to troubleshoot effectively can resolve most common problems quickly:
- No Sound Output: Double-check connections and ensure all devices are powered on. Verify that the TV’s audio output settings are configured for ‘External Speakers.
- Audio Delay and Synchronization Problems: If there’s a noticeable lag, explore features like ‘Lip Sync’ in both TV and amplifier settings to adjust the timing.
- Other Connectivity Issues: If using optical connections, ensure the cable is fully inserted. When using HDMI, trying different ports or cables if no audio is output may help.
Troubleshooting puts you back on track to enhancing your audio experience.
Optimizing Your Audio Experience
Achieving the best audio quality involves more than just connecting devices. Fine-tuning settings can make a notable difference.
- Adjusting Sound Settings for Best Quality: Explore your amplifier’s menu for equalizer settings and tailor the sound to your preferences. Most amplifiers allow adjustments for bass, treble, and balance.
- Exploring Advanced Amplifier Features: Utilize features like Dolby or DTS sound modes if available to enhance surround sound effects.
- Balancing Audio and Video Settings: Ensure that audio and video are in harmony by tweaking settings. Check your TV’s AV (audio-video) synchronization settings if you notice discrepancies.
With these optimizations, you’re well on your way to enjoying superior sound quality.
Conclusion
Connecting your TV to an amplifier can substantially elevate your home theater experience. Whether you’re using a simple stereo amplifier or a complex surround sound system, this guide provides the necessary steps and solutions. By following these tips and configurations, you can enjoy high-quality sound, immersing yourself in every movie, game, or song.
Frequently Asked Questions
What cables are needed to connect a TV to an amplifier?
Depending on your setup, you may need HDMI cables, optical cables, or RCA cables. Choose based on your TV and amplifier’s available ports and your desired audio quality.
Can I connect my TV to an amplifier wirelessly?
Yes, if both your TV and amplifier support Bluetooth or Wi-Fi connectivity, you can establish a wireless connection to eliminate the need for physical cables.
Why is there a delay in audio after connection?
Audio delay, often referred to as lip-sync error, can be adjusted through your TV or amplifier settings. Features like ‘Lip Sync’ or ‘AV Sync’ allow you to align the audio with the video correctly.